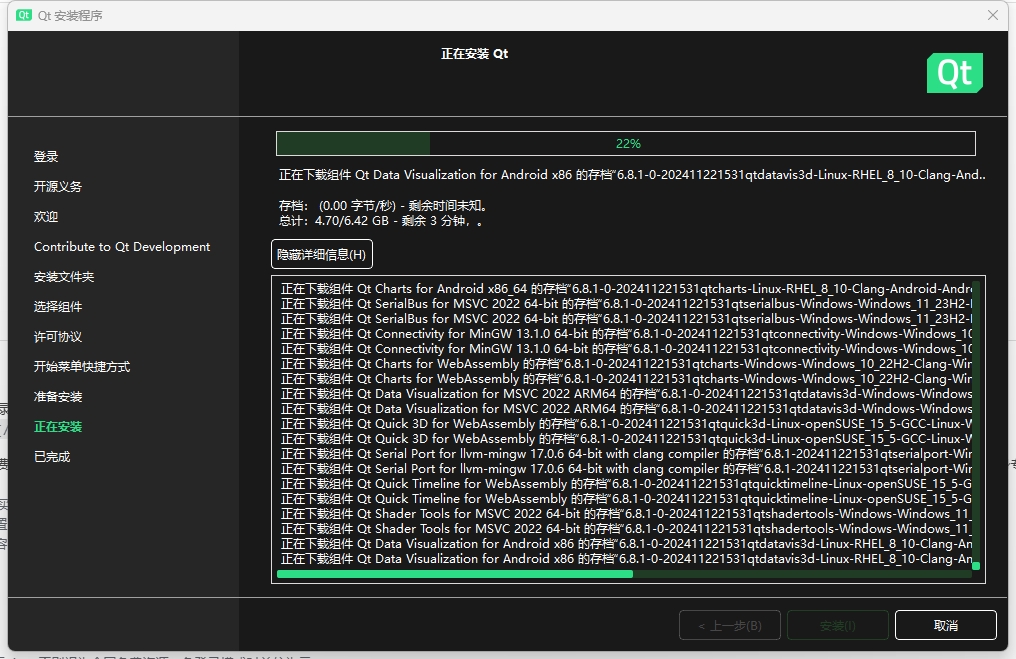
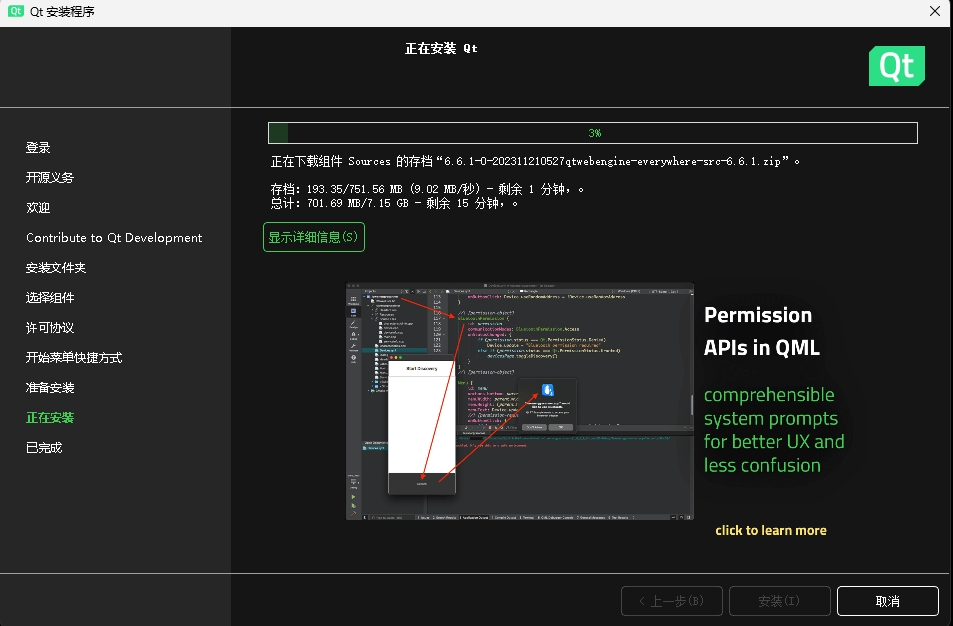
1、在线安装qt,记得安装cmake和Mingw编译器
2、到系统的环境变量设置如下变量

3、在Releases – OpenCV下载windows版本,然后安装解压
4、C:\Qt\Tools\CMake_64\bin中启动cmake-gui.exe
5、设置好两个路径,一个时源码的路径一个时编译后存放的路径
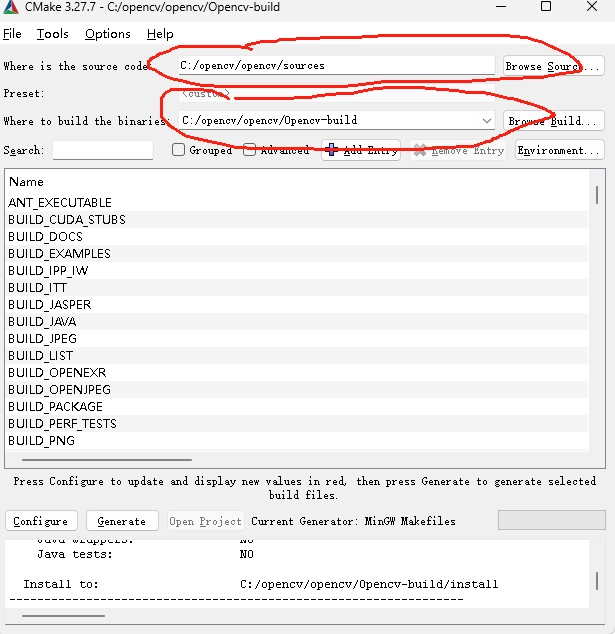
6、点configure,选编译器,和路径

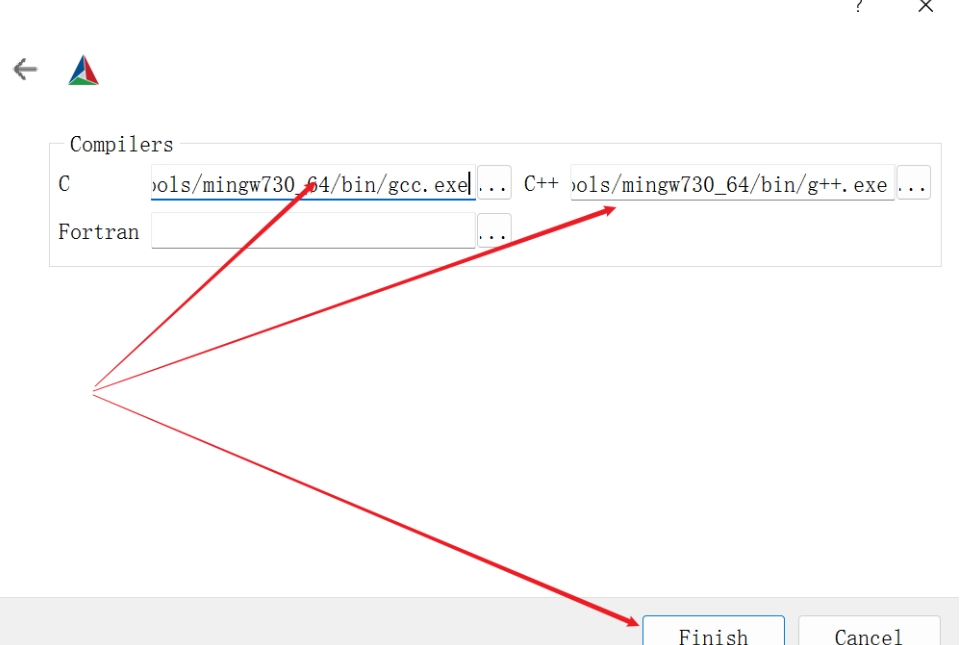
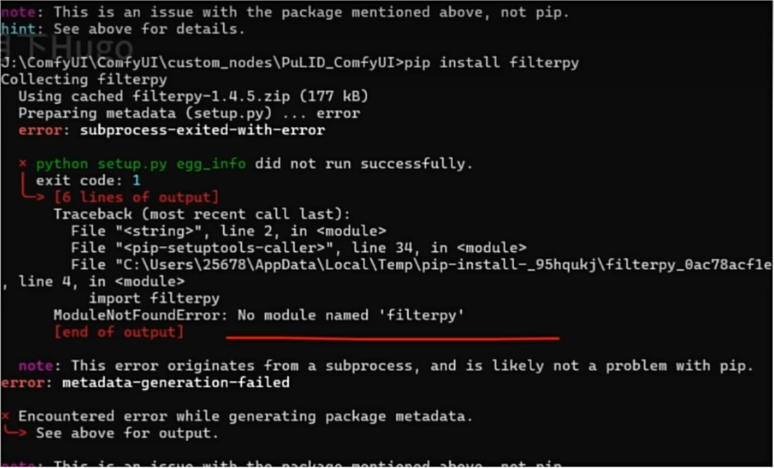
之后不出意外的会出现意外,
| ENABLE | ENABLE_CXX11(选中) |
| WITH | WITH_OPENGL(选中) |
| WITH | WITH_QT(选中) |
| WITH WITH | WITH_IPP(不选) openmp选中 |
还会报错,可能是没有安装python,可以自己下载一下安装python,也可以把关于python的选项都去掉
还有个问题就是无法下载ffmpeg
可以在ipaddress查询raw.githubusercontent.com的真实ip地址,然后添加到host中
解决完所有没有红色提示了点击generate按钮就行了。
6、在生成文件夹中按下Shift键,点击鼠标右键,选择在此处打开命令行:
mingw32-make -j 8
编译完成之后,输入如下指令安装:
mingw32-make install
之后在qt中测试就行了
还有一些问题可以参考Qt-OpenCV开发环境搭建(史上最详细)_qt opencv-CSDN博客


评论0